


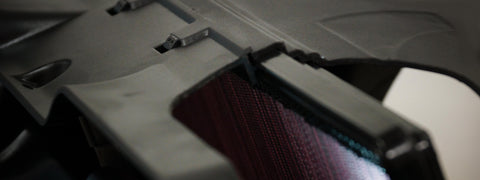
The VCM OTR is a high-performance intake, so it needs looking after like one. Its positioning, volume and location are what make it work so well, but there is a trade-off: more airflow means more air being filtered, and more air being filtered means the filter gets dirty faster.
How often should you clean a VCM OTR?
Every 2000 km. Inspect it, clean it, put it back. Do this and you protect two things: the life of the intake itself, and the performance gain you paid for. A clogged filter quietly hands that gain back.
What do you clean it with?
We use and recommend the K&N Filter Recharge Kit.
How to remove and clean the filter in your VCM OTR
You don't need a hoist or a full afternoon. What you do need is a clean, flat surface to work on, the K&N Filter Recharge Kit, and enough time to let the filter dry properly before it goes back in.
Step 1: Remove the VCM OTR from the engine bay.
Lift the whole assembly out and take it to your bench. Working on it in the car is possible, but it's cramped and you'll drop a clip. [check: any bolts or fasteners holding it in that should be mentioned?]
Step 2: Remove the rubber boot from the rear of the OTR outlet.
It pulls straight off. Set it aside somewhere clean so no grit ends up on the inside face.
Step 3: Unclip the 4 side clips on each section of the OTR.
Work around the housing section by section. Four clips per section, all of them off before you move on.
Step 4: Push down on the 6 top clips.
These release the top of the housing.
Step 5: Push down on the 6 bottom clips.
Same again underneath. Once the side, top and bottom clips are all released, the housing opens up.
Step 6: Lift the K&N air filter out of the OTR housing.
Have a look at it before you clean it. If it's caked in dust after 2000 km, that's the intake doing its job, not something going wrong.
Step 7: Clean the filter with the K&N Recharge Kit and let it dry completely before reinstalling.
Spray the cleaner on, let it soak, rinse with low pressure water from the clean side out, then leave it to air dry. Don't use compressed air or a heat gun to speed it up, and don't put it back in damp. Once dry, apply the filter oil from the kit. [check: confirm the oiling step applies to the OTR filter and matches the kit instructions]
Reassembly is the same steps in reverse: filter in, clips on, boot on, OTR back in the bay.
